Hems in a Hurry: Thirteen Choices to Finish Your Garment
Contributed by Sharon Blair, Portland Sewing Institute
Four by Machine
For straight or slightly curved hems when you don’t mind seeing a stitch line.
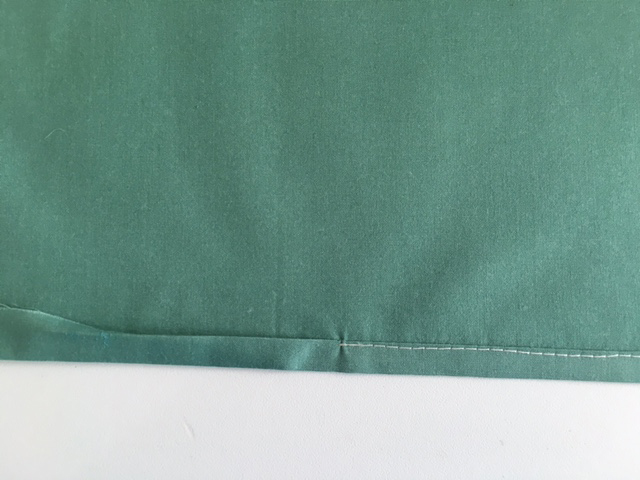
 Blindhem Popular for pants. Press hem allowance up then press raw edge under by ¼”. Press garment back exposing the folded hem edge an even ⅛”. Most blindhem feet have a plastic gauge that causes uneven stitches. Use a metal edgestitch foot instead. The metal blade guides fabric along the fold smoothly and produces a more even stitch. Set stitch width to 3.5 mm and length to 2.5 mm.
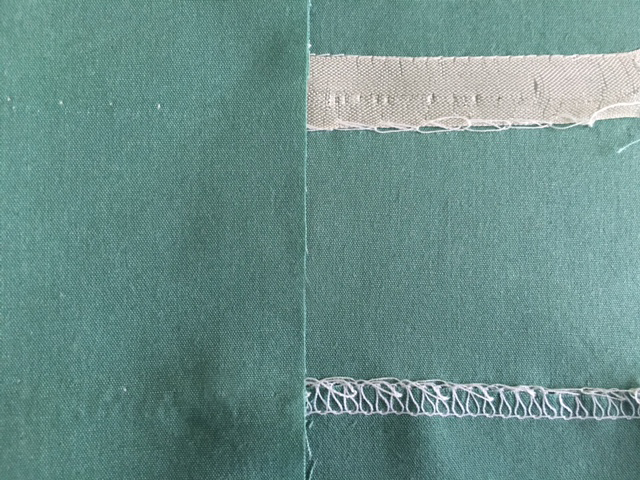 Blindhem Sidebar How do they blindhem ready-to-wear pants? Industrial machines stitch hems in the flat – no folding needed. The hem edge is first serged or covered with hem tape. The hem is then pressed up and placed on the machine bed, wrong side up – no need to fold back the garment. A curved needle grabs a small bite of the garment and the hem. Bite depth and stitch length change to match the thickness of fabric. Manufacturers routinely use invisible polyester monofilament thread so the stitch is invisible from the right side.
Three by Hand
Use these stitches on the straight hems of finer garments when you do not want see a stitch line on outside of garment. Use a single thread in a size 8 or 10 sharp needle.
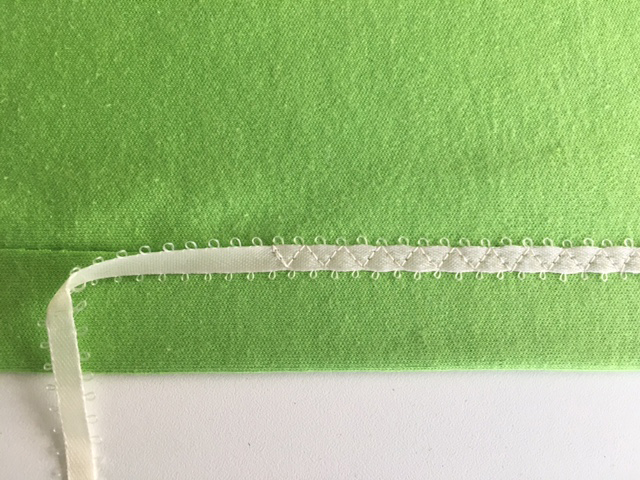
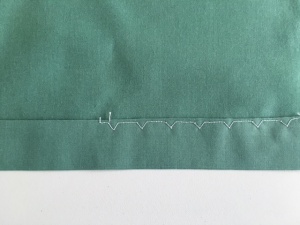
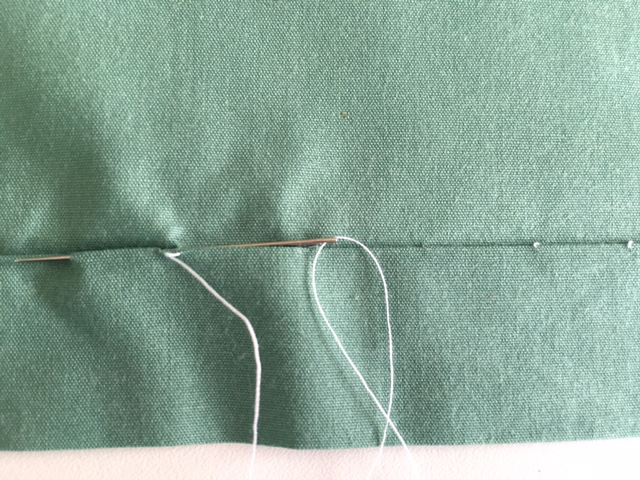
 Catch For jacket and pant hems. Press up hem allowance and finish raw edge by turning under ¼” or by sewing on hem tape by machine. Work from left to right (or right to left if you are left-handed!). Catch a small stitch on top edge of hem allowance then pick a small bite of the garment about ½” to the right. Your stitches will create a series of “Xs”.
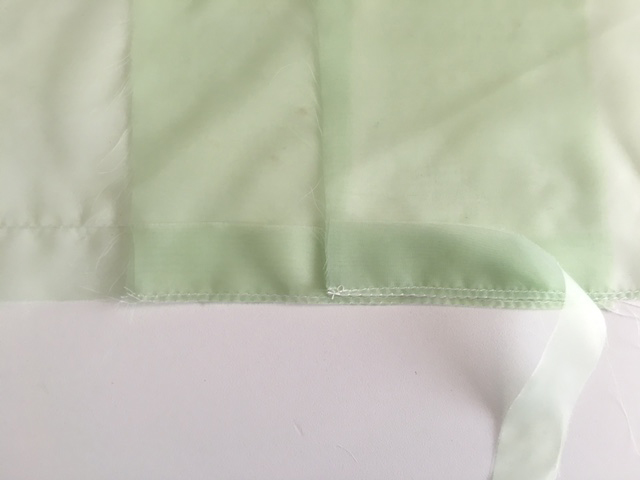
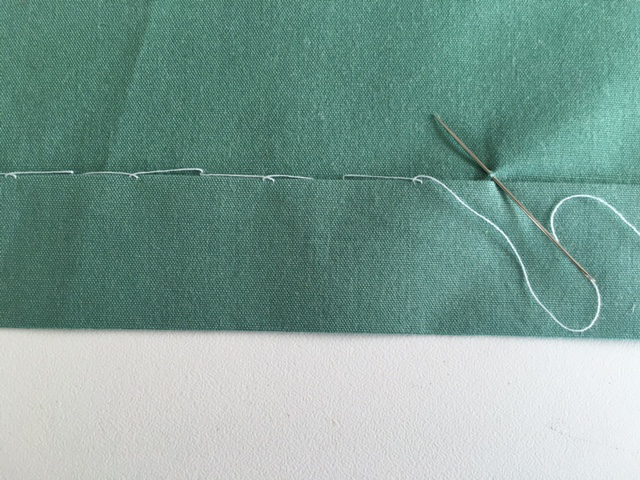
 Rapid All purpose but visible inside. Press up hem allowance and finish raw edge by turning under ¼” or by sewing on hem tape by machine. Position hem vertically. Pick up a couple of threads on the hem allowance then pick a small bite of the garment about ½” up. Repeat, alternating between hem and garment to create a series of diagonal lines.
Three by Serger
Use these when you want the stitch line to be part of the look of the garment.
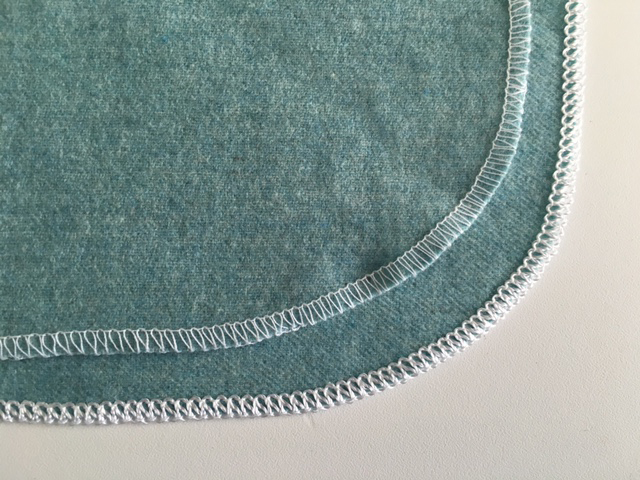 Overedge Easy hem for a fleece blanket or casual jacket. Cut corners into curves. Set up machine for 2-thread serging. Don’t have 2-thread? Use 3-thread narrow. Run Pearl Crown Rayon in the upper looper.
 Rolled hem Use for chiffon and knits. When rolling soft transparent fabrics such as chiffon, set machine for widest width possible, disengage knife and guide fabric’s raw edge to inside edge of presser foot. On knits, change differential feed as needed: Use higher numbers to keep edge flat. Use lower numbers and stretch fabric to make a lettuce edge as you stitch.
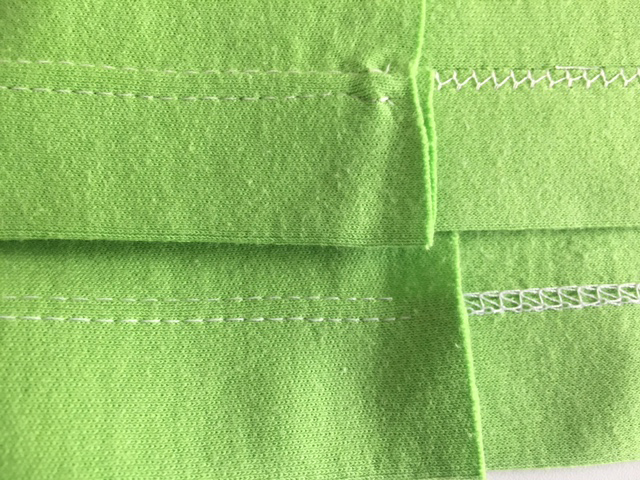 Coverstitch Standard finish for a knit hems. Press under a ½” or 1” hem. Stabilize and secure with a ¼”-wide strip of fusible web inside hem edge. Coverstitch from right side with two needles. Align needles so raw edge is enclosed under stitching on wrong side. Don’t have a coverstitch? Use a 4.0 mm stretch twin needle on your sewing machine for comparable results.
Three on the Bias
Use these finishes on curved or bias hems that tend to pucker when turned up.
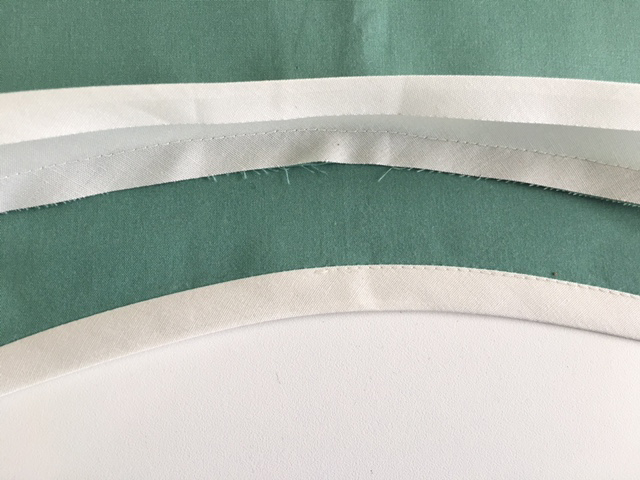
 Faced Use on woven fabrics. Cut or buy 2″-wide bias strips of thin, tightly woven such as cotton broadcloth. Piece them together to match length of hem plus 2”.
Right sides together, machine stitch strip to bottom edge of garment. Overlap strip past side seam by ½” and leave first 1” of the strip unstitched. Sew around hem, stopping ½” before side seam where you started. Place right sides of strip ends together and one strip end at a 90o angle. Stitch diagonally and trim excess. Finish sewing strip to bottom edge.
Press seam allowance toward facing. Turn facing to wrong side bringing ⅛” of fashion fabric with it. Press. Press facing’s free edge under ½”. Edgestitch loose edge of facing to garment.

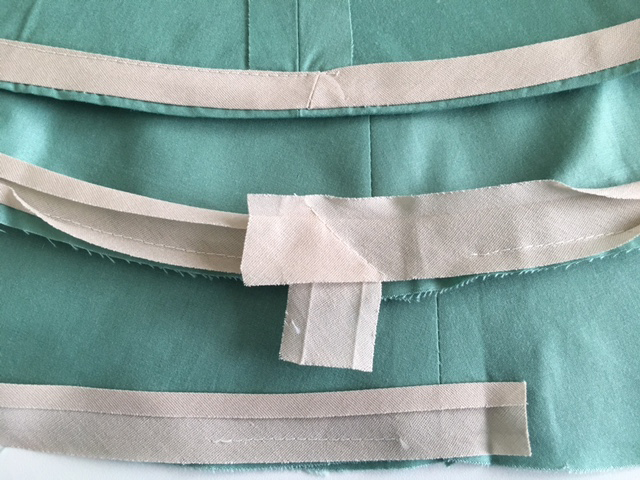
 Bound Use this on heavier fabrics. For wovens, cut bias strips 1¾’ wide by length of hem plus 2”. Press under one long edge ⅜”. Place right side of unpressed edge of bias strip against wrong side of fabric, raw edges together. Overlap strip past side seam by ½” and finish following faced hem instructions above. Press seam allowance toward strip. Fold strip over raw edge to right side. Align pressed strip edge along stitching line and edgestitch loose edge of bias strip.
For knits, cut crossgrain strips 2” wide by length of hem. Sew the same way but start with right sides together and use a ½” seam allowance. Wrap binding over seam allowance to wrong side. On right side, stitch in the ditch or edgestitch or zigzag across previous stitchline. Trim excess binding close to stitchline on wrong side.